Phase II Training – Adding Images
Adding Images to Annotum Article
Images can be added as figures or inline images in the Body and Appendix text of your article. Before beginning the process below, you should have your images edited, cropped, and assembled on your computer in JPG or PNG format.
To insert an image:
- First get into Text entry mode in an existing paragraph or click into an empty paragraph.
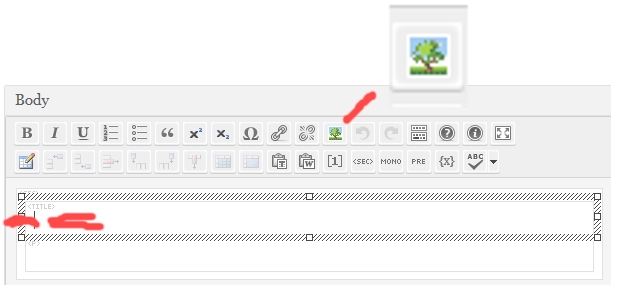
- Click on the Tree icon to open the Media Library with Browse or Upload buttons
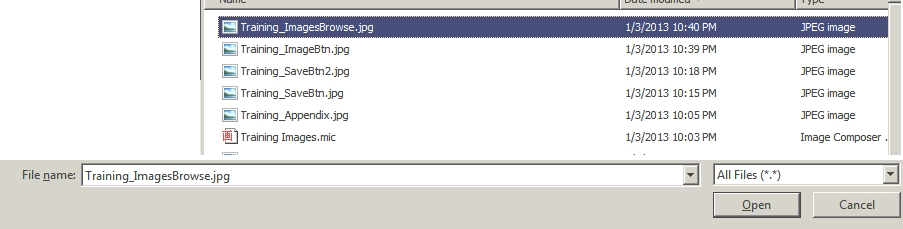
- Click the Browse button and select a file.

- Click the Open button in the file selector. The browser should return to the Media Library dialog with your file name present.
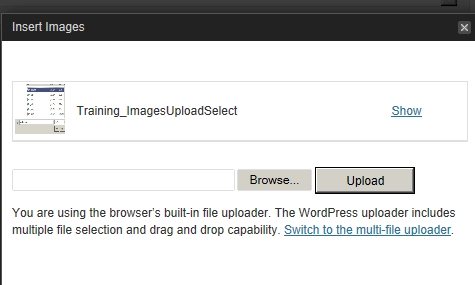
- Click the Upload button.
- After the upload function has finished, you should see a thumbnail view of your image. Click on the Show link.
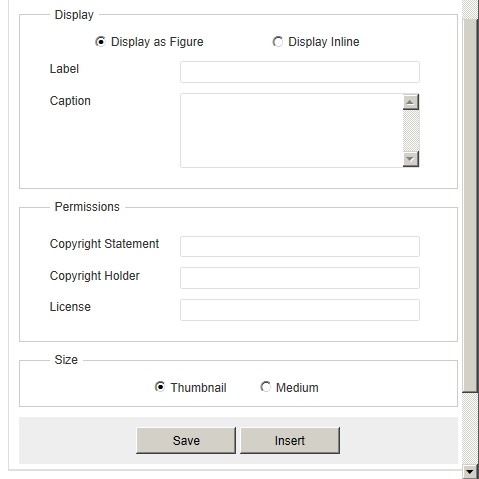
- You can now enter the Label, Caption (which will be displayed in your online journal article) and other characteristics for this image. Note that you can Display the image to appear as a figure outside of your text, or as an inline figure.
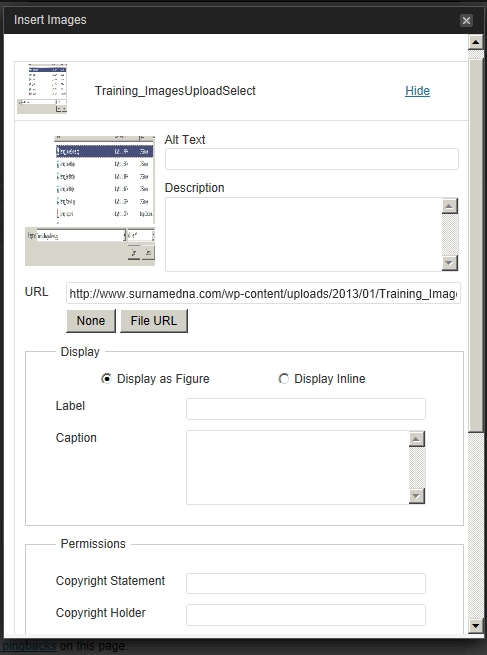
- When you have the properties set, click the Save button. Note that you may need to scroll the image properties dialog down in order to see the image Save button.
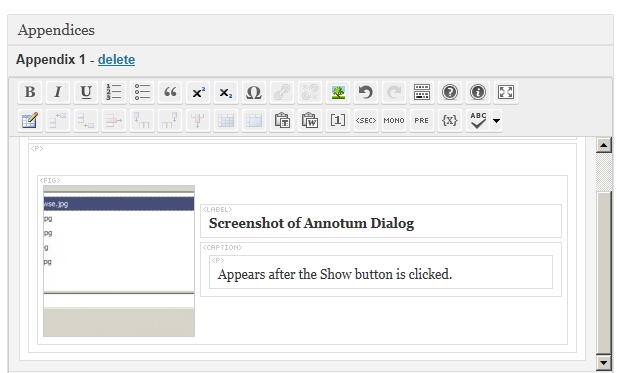
- Once saved, click on the Insert button to put this image into your article text. Below is an illustration of how your image may look when displayed in the editor as a figure.
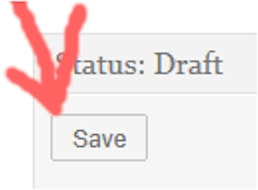
- Be sure to Save your entire article periodically as well, at least every 5 minutes.
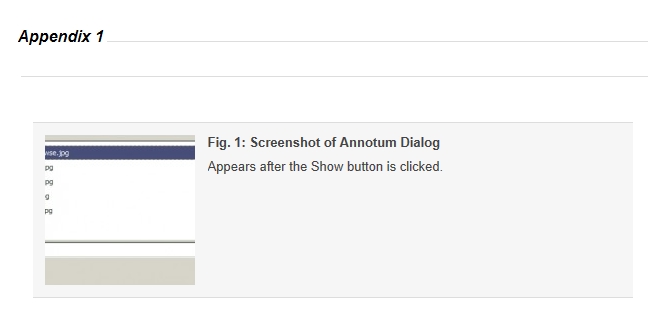
- Once you’ve Saved the article, click on the Preview button to see how the rendered article will look. In particular, you can see your figure.
You can repeat this process for others images. To change the properties of an image already uploaded, you select the image in the Annotum Editor, then repeast steps 6-8 above to Save the new properties.
Next: Adding Tables
Previous: Text Entry